
Let’s get organized: Fly Tying

My fly tying desk
I’m one of those “strange” people; I like to organize and make lists. Last year I decided to go through my fly tying materials and tools because I kept buying duplicate materials when I couldn’t find a particular something I wanted in my stash. After I acquired three packs of olive marabou I sat down and created a Google Sheets inventory document that I store on my Google Drive; accessible from any fly shop, yard sale, or tying event via a cell phone. And yeah, I usually update it when I bring home my latest purchase or garage sale find; usually…(rolling eyes)

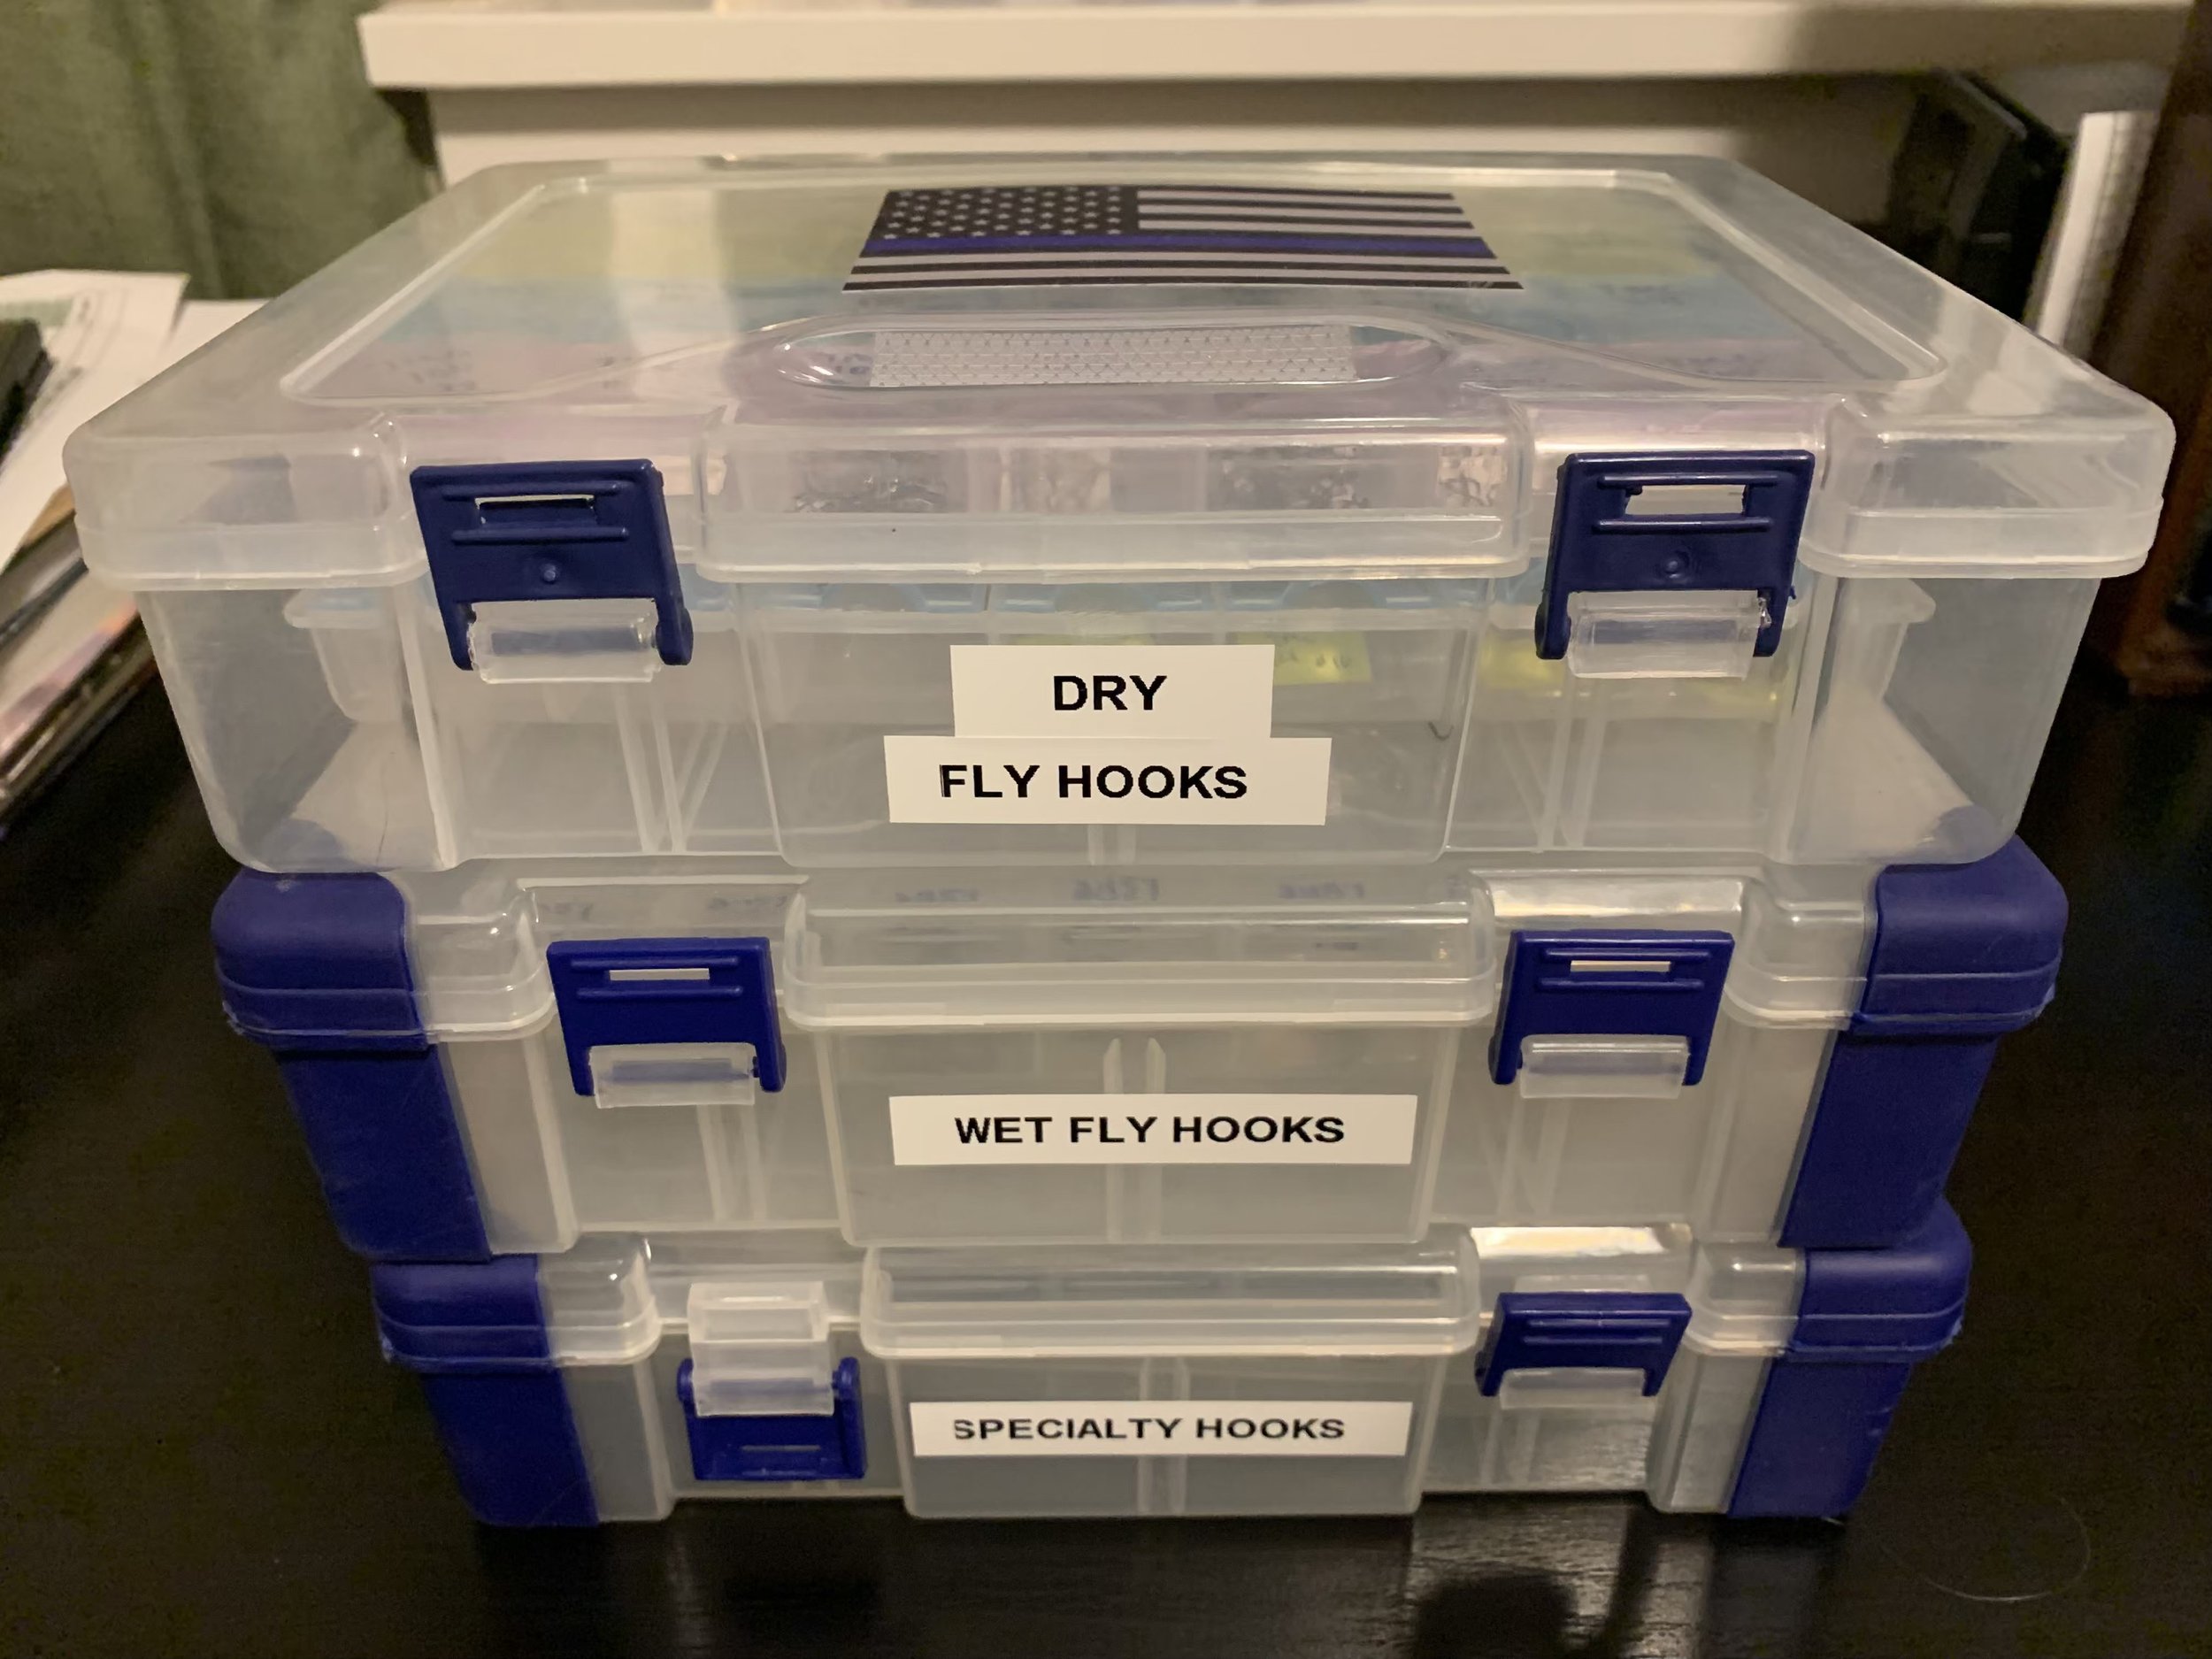
I was pretty shocked as I started the process, pawing through my hook drawer. I found many boxes of old Mustad hooks that I wasn’t likely to use (nothing wrong with them but I prefer newer models) and multiple packs of the same hooks. So, I began by sorting them into dry and wet versions, adding a “specialty” category for Euro jig, big streamers and assorted other odd balls. From there I narrowed each version down to brand and model numbers and then size. Example: Wet- TMC 3761 #14-16. I did the same for the dry fly and specialty hooks, too.
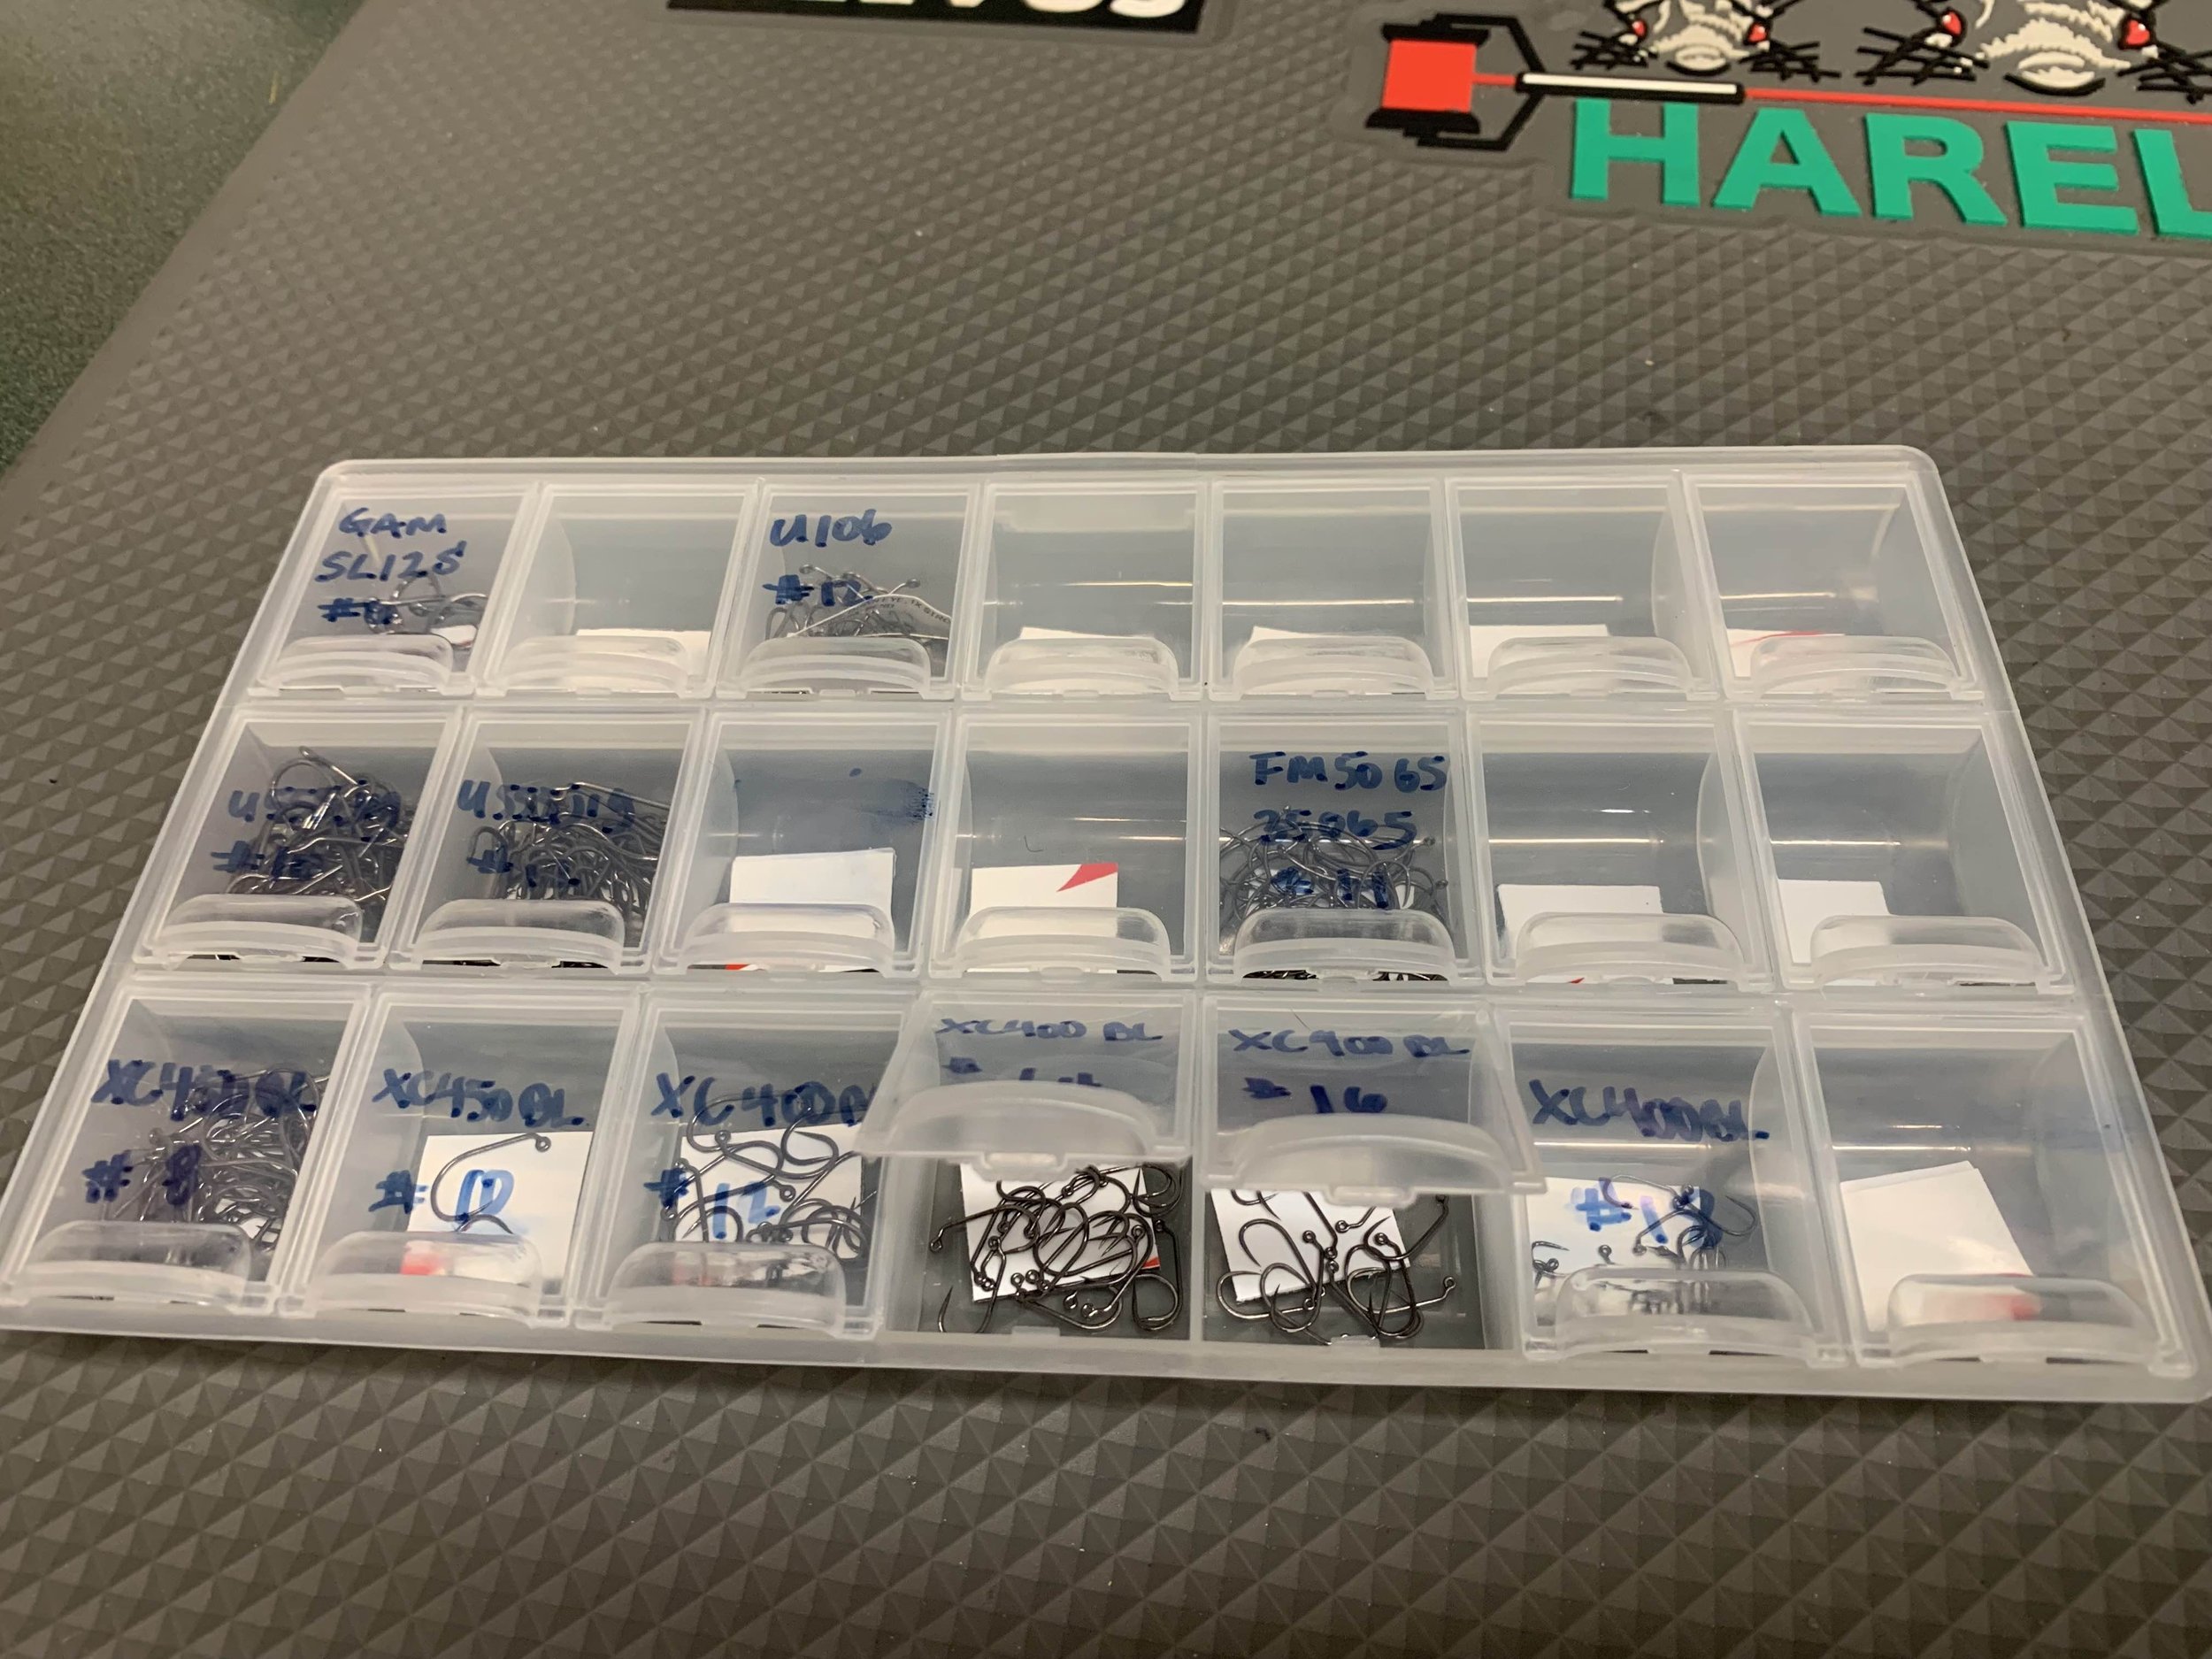
My next dilemma was how to store the hooks. I opted to use bead containers from Fire Mountain Gems. I don’t recall how I came across the containers but what I found is perfect for this purpose. They are plastic storage boxes that hold two slightly smaller boxes with 21 snap lid compartments. I labeled all the compartments using a Sharpie with hook model and size. And to keep the hooks a bit more secure in the individual compartments, I cut up the magnet pads from the manufacturers hook bags and glued them inside. Here are the links to the carrying case and snap lid hook compartments:
https://www.firemountaingems.com/itemdetails/H203243PK and https://www.firemountaingems.com/itemdetails/H203932PK
All told, there are 42 individual compartments for hooks in each storage box. I ended up with three boxes (2 trays each) for a total of 126 hook slots. Now, I haven’t filled them all up yet so don’t roll your eyes at me.

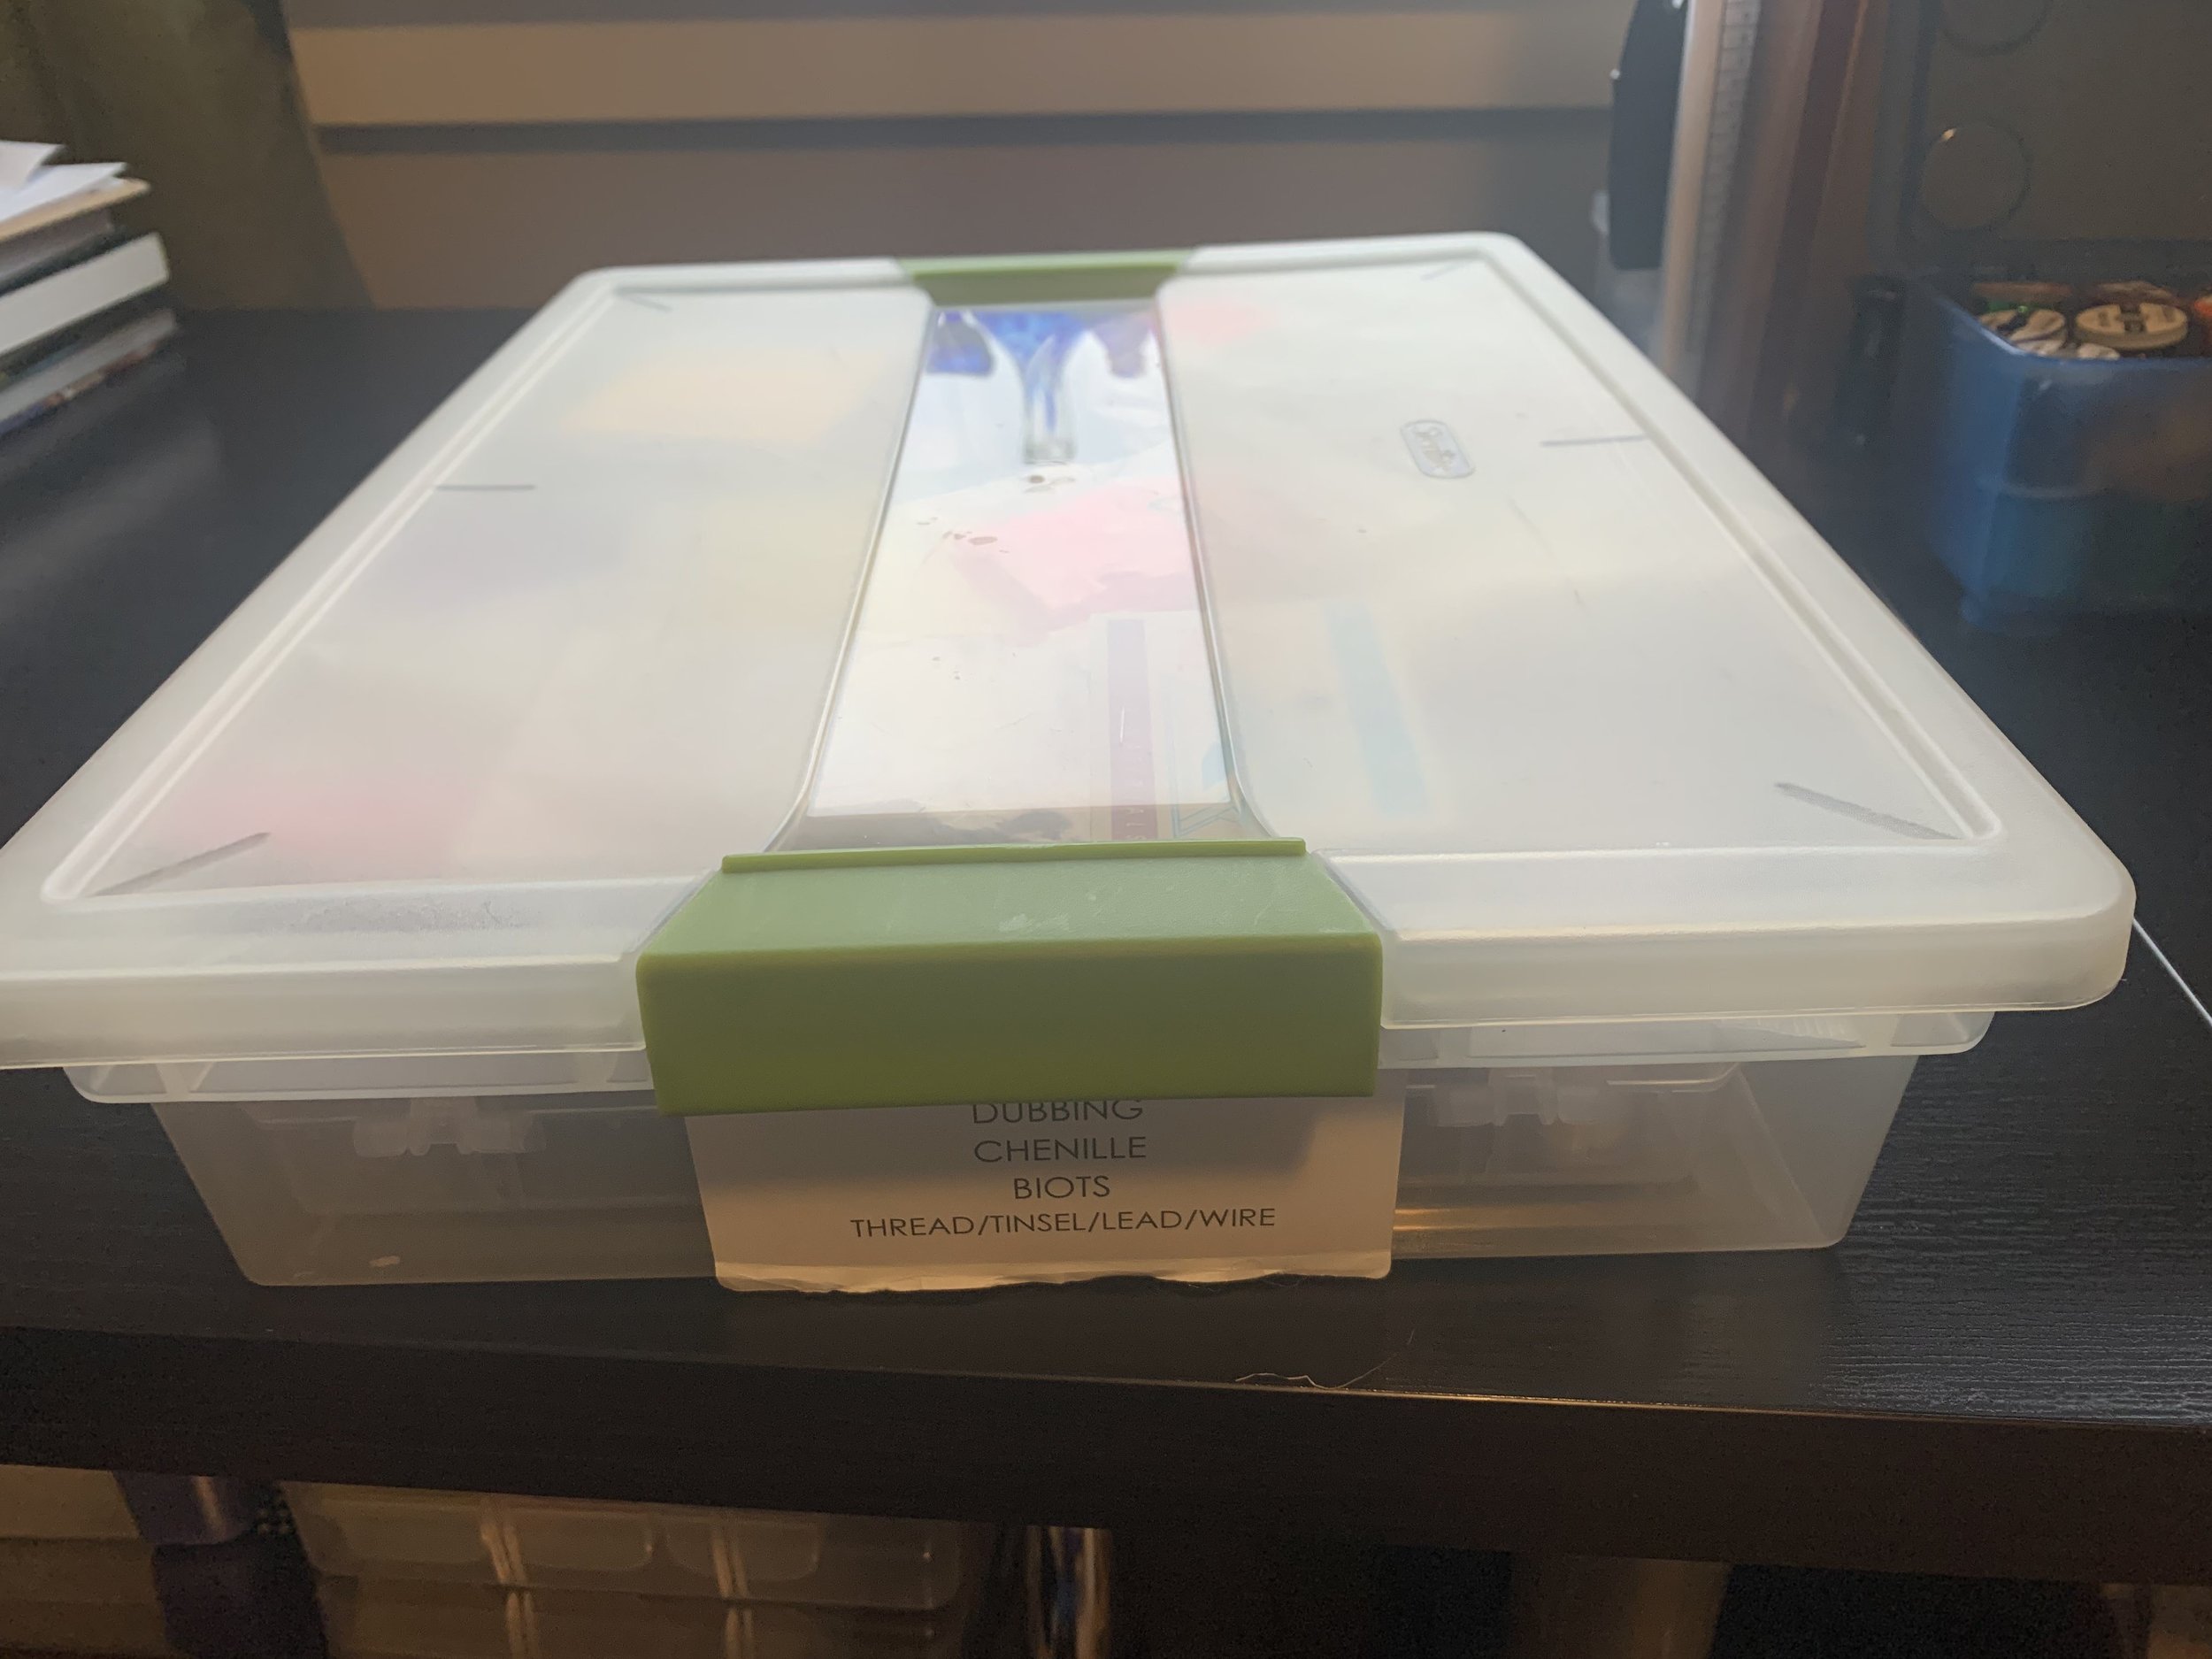
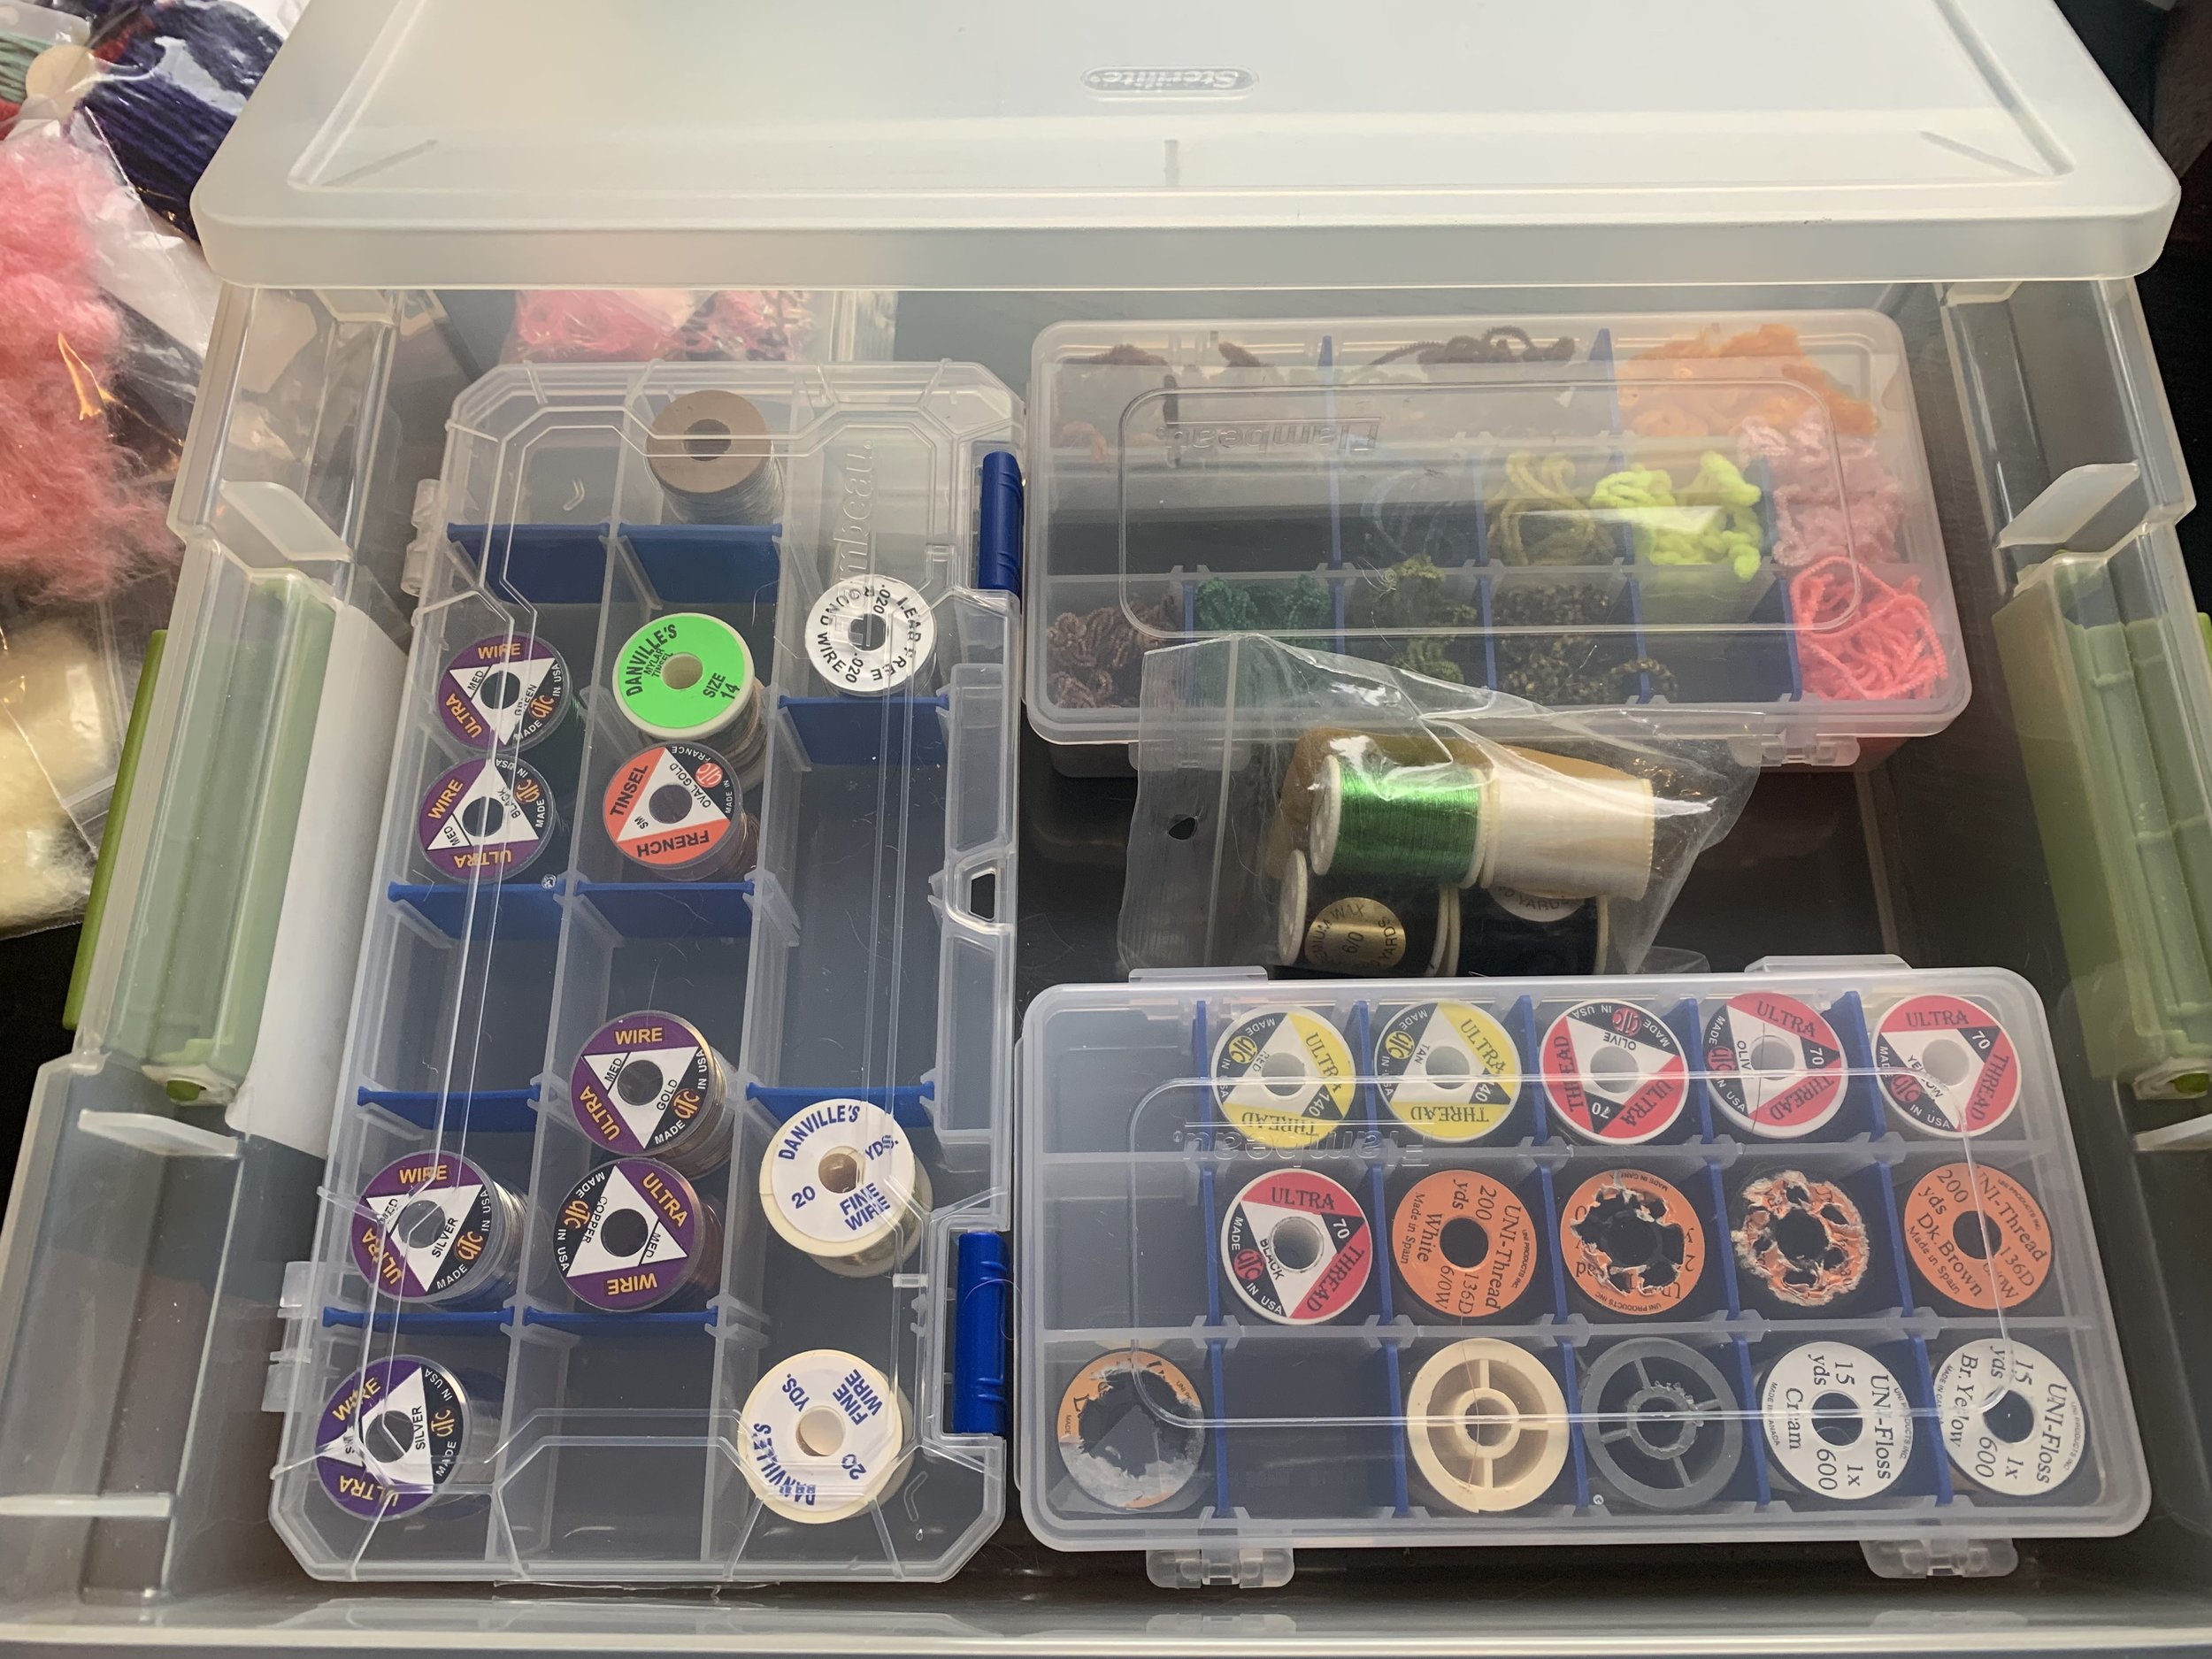
Next up was the thread, wire and other synthetic materials on spools. I keep the most common colors and sizes at my bench on a dowel board. The extra spools are kept in small Flambeau storage boxes that perfectly fit the standard fly tying thread/wire spools. When I use up a spool or need a uncommon color, I just pull down the box and check for what I need. I keep them in another snap lock box and pile extra chenille and dubbing on top.

I use quite a few beads, from tungsten to glass. Again, I keep the majority of them in a drawer of the craft cart at my desk since they get used frequently. In order to differentiate the various types (slotted, tungsten, cyclops, etc) I use Loon bench rings. I punch a hole at the top of the baggy they come in and then thread the plastic coated wire ring through. I have a ring of each type organized by color and size/weight. Since I take the paper packaging with information off, I use a pen and write the size/weight on each bag for reference.


For extra hair, feathers, and synthetic materials I use plastic snap lock totes from Costco that stack neatly. I store them in the closet in my tying room where I can get to them easily. I separated marabou, schlappen, capes and hackle and the likes, since I have a lot of them and they take up a good amount of space. This way I can just pull down a particular tote and paw through it for what I’m looking for rather than digging around in a giant bin. Pro Tip: make sure to use a resealable bag for all your buck tail so you don’t stink up all of your other materials! Be sure to seal the totes up too; pesky little bugs will find their way in and ruin your stash.
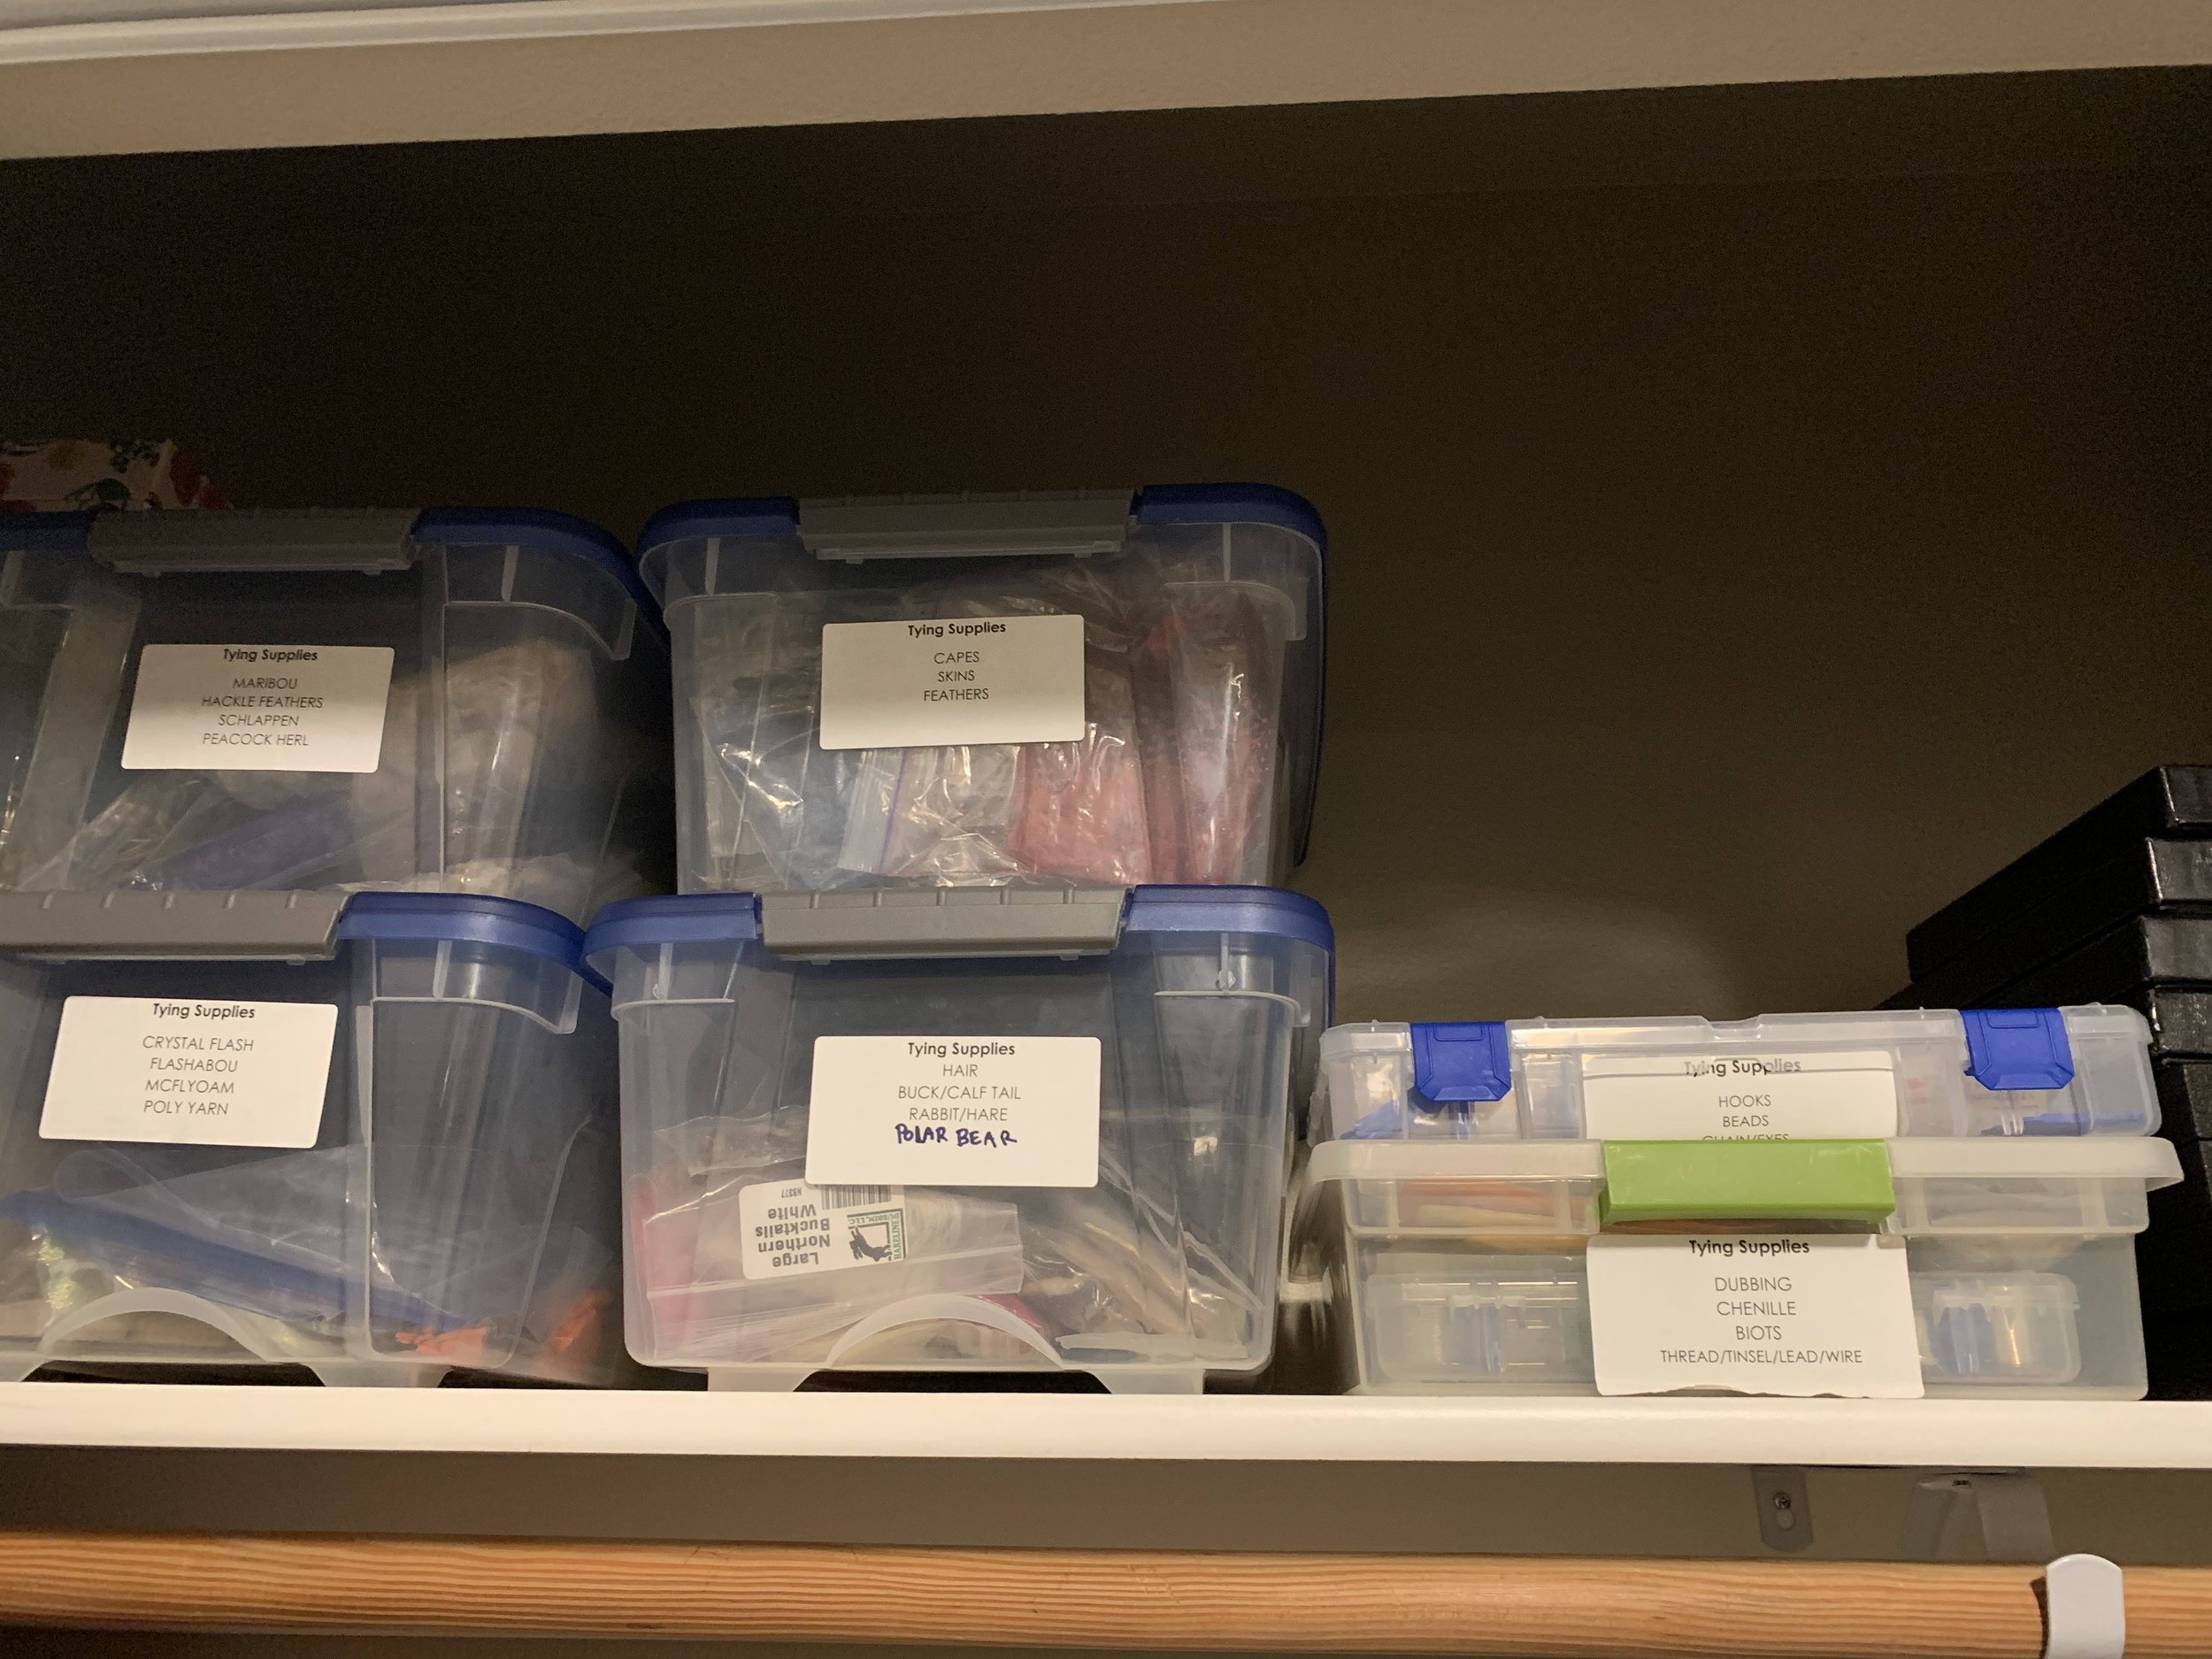
Extra material stored in totes and labeled
The key to making my tying sessions productive and fun is to have the right materials available AND accessible. To help with this, I use the craft cart drawers, in addition to the tying desk, to keep the most commonly used feathers, fur, marabou, chenille, dubbing and tools at my disposal. When I had to hunt for materials in several different locations and then dig around under other stuff I ended up annoyed and wasting a lot of time. Now I’m organized and happy, and my materials are stored neatly and are safe from the cats and bugs.

Craft cart stored under tying bench with frequently used materials
So you might wonder what to do when you want to tie flies at camp, or go to a tying event away from home. There are a lot of commercial “fly tying travel kits” available to purchase but I’ve found my 30+ year old plastic tool box works great (and it was practically free). This was my prized possession after graduating college and earning my Athletic Trainer Certification back in 1993. All my tape and first aid equipment used to reside inside. Now it’s transporting my vise, tools, materials; everything I need to tie a few patterns away from my tying desk. Some friends just toss everything in a Rubbermaid tote and go, others put it in a canvas grocery tote. I encourage you to experiment and decide what you prefer.


Here’s hoping my OCD with lists and organization will inspire you to sort through your materials and tools. If you find you’ve got three lifetimes of some materials, don’t hoard it all. Consider passing it on to a friend or new tyer who is sure to appreciate it. Personally, I find being able to try new materials or the latest trend in the market fun when I justify it by not having “too much” at home already.
Happy Organizing!